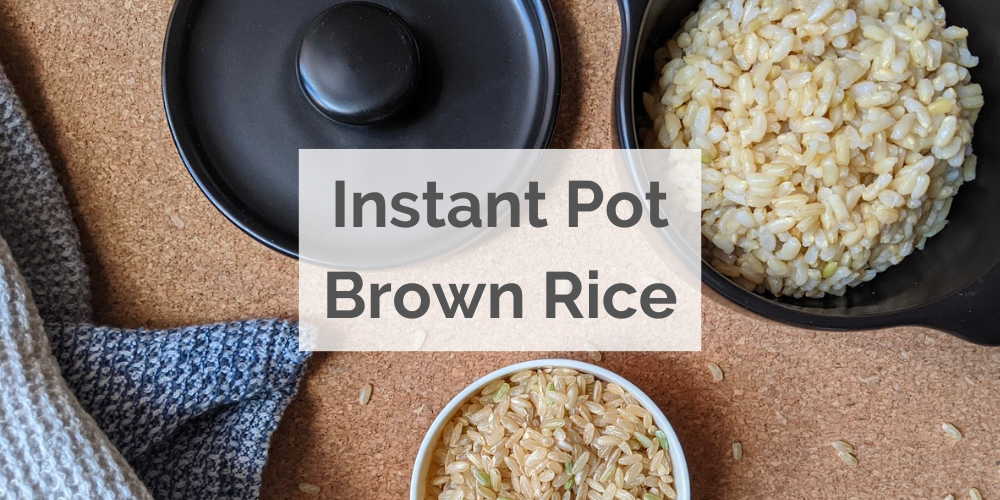
Perfect brown rice in the Instant Pot
Posted: July 17, 2022 Updated: May 7, 2024
The final Instant Pot method in my rice series – brown rice. Brown rice is a common staple in our house due to its increased fibre and low glycemic index. Not only does brown rice have health benefits over regular white rice, it also tastes great.
We regularly use our Instant Pot to cook rice. It takes away any guess work on volumes or cooking times and it means we don’t need to hover in the kitchen incase the pot boils over. If you’ve got a temperamental stove like we do (always too hot or too cold) then I highly recommend cooking rice in the Instant Pot.
BENEFITS OF COOKING BROWN RICE IN THE INSTANT POT
There are two clear benefits for me when I cook brown rice in the Instant Pot.
- It frees up space in the kitchen. I get back an extra space on the stove to cook.
- The Instant Pot is kind of my husband’s toy. When we bought it I deliberately didn’t use it. This way, it’s his realm and I can take a break for at least one part of cooking!
But of course the biggest benefit is that it’s perfectly cooked. Every. Single. Time.
ALL RICE COOKS DIFFERENTLY
Most white rice is reasonably interchangeable with the same method in the Instant Pot.
However, once you get to brown or red rice it’s a different story. This is because brown and red rice have a layer of bran on the outside. Bran is the protective layer of fibre between the inner rice grain and the outer rice husk.
This layer of bran slows down the cooking process, meaning you’ll need a longer cooking time.
METHOD
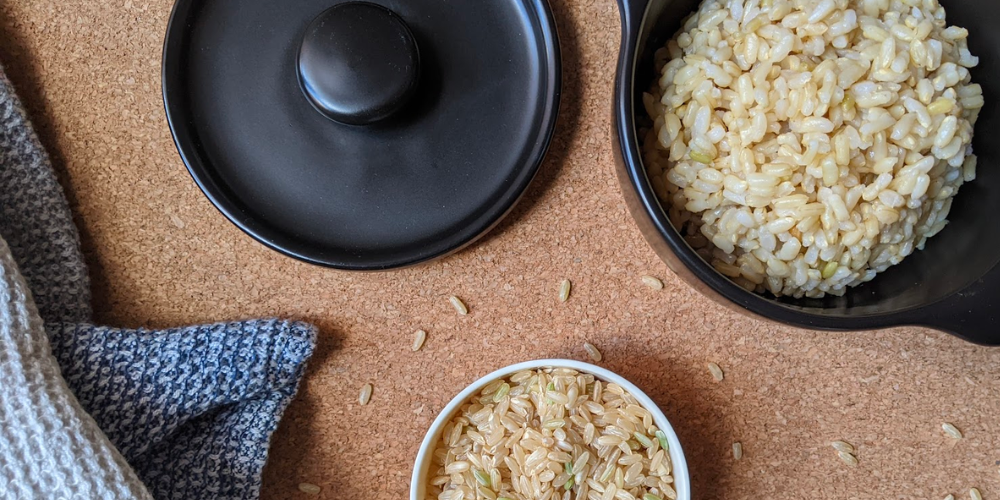
Measure out one cup of brown rice. Using a large bowl or a sieve, rinse your rice until the water is clear. This usually takes three rinses.
Put the rinsed rice into the pressure cooker and add one cup of water. If you are making multiple serves or scaling ensure the ratio is 1:1.25.
Set your Instant Pot to cook for 15 minutes.
Allow the Instant Pot to naturally release for 10 minutes.
After ten minutes carefully open the vent to release any remaining steam.
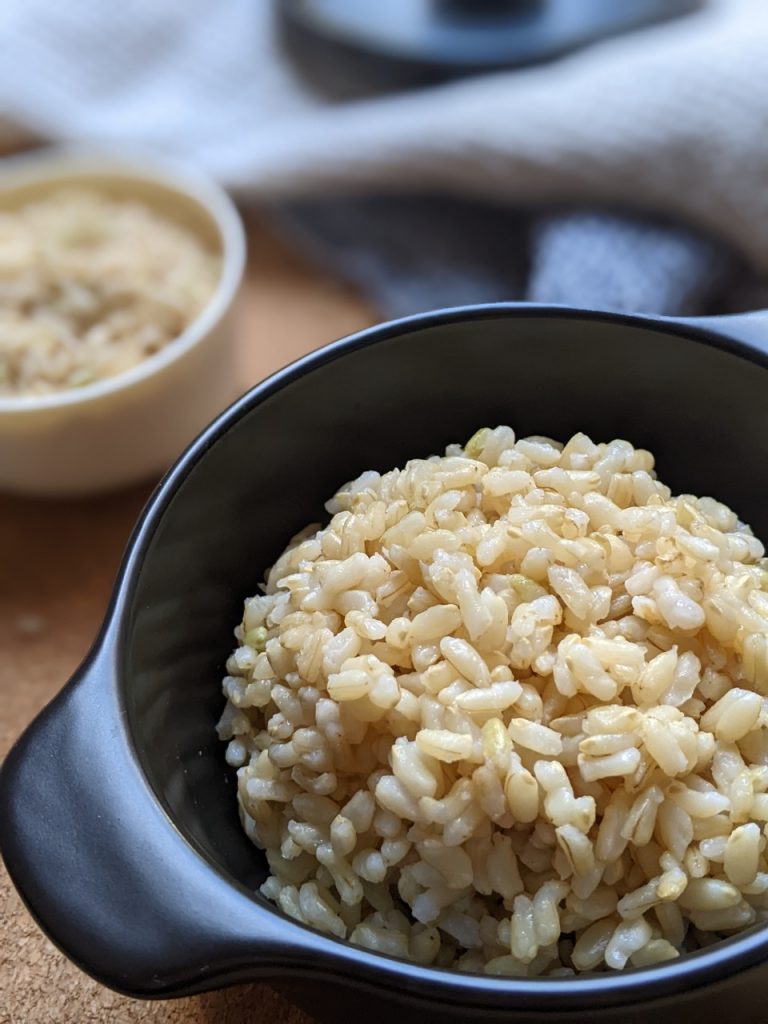
Remove the lid, fluff the rice with a spoon and serve.
THINGS TO NOTE WHEN MAKING BROWN RICE IN THE INSTANT POT
Note this recipe makes three modest servings of brown rice. If you eat a lot of rice or you’re an athlete this would be more like two servings.
I encourage you to use three servings as this works better with the Instant Pot. Two servings (2/3 cup of rice and just under a cup of water) may result in too little water in the pot. This makes it difficult for the Instant Pot to pressurise and may lead to an error message during cooking.
STORAGE OF BROWN RICE
This method makes three serves of brown rice using the Instant Pot. If you’re a two person household like me that means leftovers.
Brown rice, like all rice, should be cooled and immediately refrigerated for storage. Once you’ve cooked your rice, pack any leftovers in a container with the lid off and leave to cool. You can put the rice in the fridge as soon as it stops steaming – ideally within an hour.
Brown rice will keep in the fridge for a few days if it is properly sealed. Personally, I would only keep rice for two days, but it can be kept safely for up to four.
REHEATING YOUR RICE
If you are going to store your rice make sure that you reheat it fully. Leftover rice must be piping hot – no cold spots, no lukewarm rice.
Day-old rice is great for fried rice dishes like Chinese style fried rice, or Indonesian nasi goreng. This is because cooked rice begins to dry out. This loss in moisture makes it ideal for frying. In both dishes the rice is reheated in a hot pan, ensuring proper food safety.
If you’re eating the rice on it’s own or as a side I recommend using the microwave. Stop the microwave mid-way through reheating to stir the rice, ensuring the heat is evenly distributed.
Instant Pot Brown Rice
Equipment
- 1 Pressure cooker
Ingredients
- 1 cup brown rice
- 1.25 cup water
Instructions
- Rinse your rice under running water until the water is clear. This removes excess starch that causes the rice to stick together.
- Put your rice into the pressure cooker and add one and one quarter cup of water. If you are making multiple serves or scaling ensure the ratio is 1:1.25
- Set your Instant Pot / pressure cooker to cook for 15 minutes.
- Allow the Instant Pot to naturally release for 10 minutes. After ten minutes carefully open the vent to release any remaining steam.
- Fluff the rice with a spoon and serve.
- Note: If the rice has moisture, let it sit with the lid off for a minutes to steam away.