Salt cured egg yolks
Posted: January 14, 2024 Updated: January 14, 2024
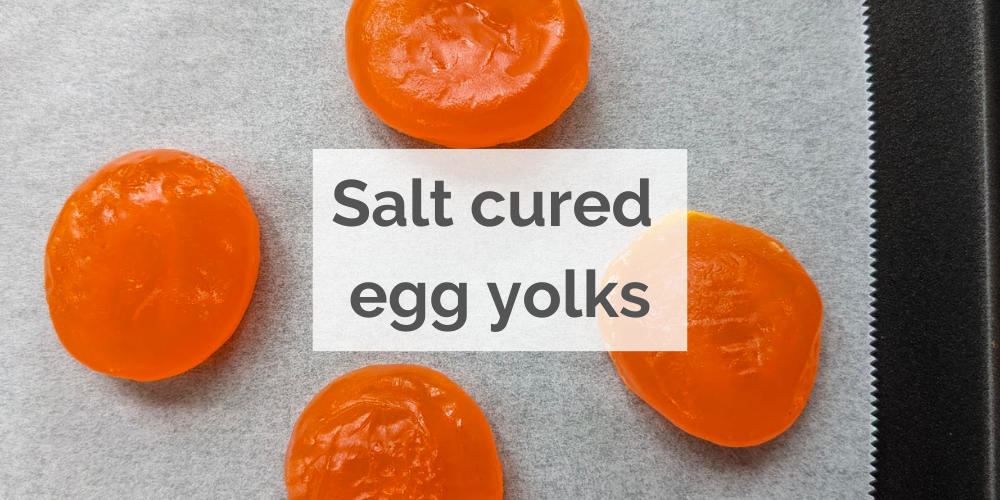
Salt cured egg yolks may just be the easiest gourmet food you can make yourself at home. In fact, you might already have everything you need in your kitchen! After all it’s only two ingredients and no special equipment.
I decided to make these for my friend’s birthday. She’s a real foodie having worked in restaurants since a teenager and coming from a hospitality-focused family. I’m sure she’s eaten salt cured egg yolks before but I doubt she’s ever made them!
What you’ll need to make salt cured egg yolks
In terms of ingredients it’s just
- Eggs
- Salt
Though there’s a little more to it, you’ll want the freshest eggs you can get so don’t use ones you’ve had for two weeks.
When it comes to salt you’ll want one free from additives like anti caking agents. Kosher salt is recommended in most recipes I’ve come across for salt cured egg yolks. However Kosher salt isnt really a thing in Australia and looking around the supermarket it was hard to find something suitable.
I ended up settling on pink Himalayan salt which does not contain anti-caking agents. It was a little pricier at $4 for a 1kg bag but given the cost of the recipe overall it’s not going to break your budget.
For equipment it’s equally easy
- Container such as Tupperware or a low shallow bowl
- Baking rack and tray
The container you use can be just about anything. I used a plastic takeaway container as my most ideal container is at my friend’s house (I dropped her some cake months ago and haven’t go it back!).
The baking rack is what you’ll use to dry out the eggs after they are cured. The rack elevates the eggs and allows them to dry more evenly.
If you don’t have a drying rack that’s fine. I didn’t use one my first batch, instead I turned them over half way through the drying process.
Method
Pour 2/3 of the salt into your container. Make four wells to place the yolks using a teaspoon.
Gently place each yolk in its own well.
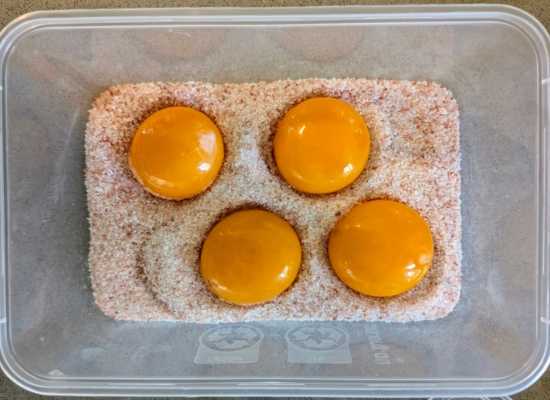
Cover the yolks with the remaining salt. Place the container in the fridge and leave for four days.
Four days later.
Set your oven to its lowest setting, for example 60°C.
One at a time gently remove each egg from the salt and rinse off any excess salt under running water.
Place the yolks on a piece of paper towel and pat to dry.
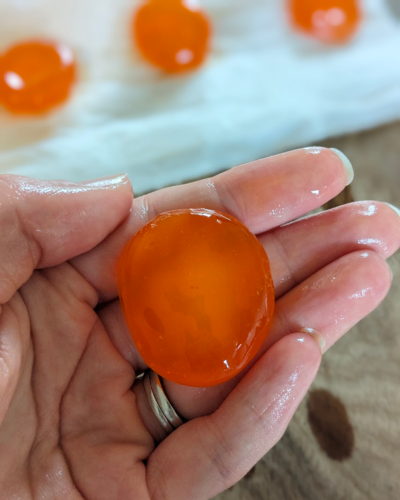
Oil your drying rack and place each yolk on the rack. If a rack isn’t available, lay a piece of baking paper on a tray.
Place the yolks in the oven at 60°C for 2.5 hours. If you aren’t using a rack, turn the yolks over half way to allow even drying.
After 2.5 hours allow the yolks to cool fully (30 minutes) before storing in an airtight container in the fridge. The eggs will last for two months.
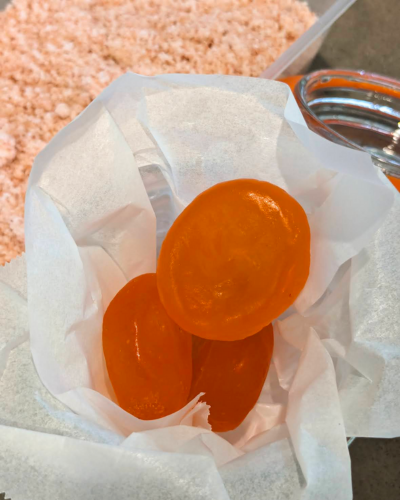
Curing time
Like with other methods of curing, the egg yolks are cured by being immersed in salt for an extended period of time.
The curing time varies depending on where you look. Most recipes I came across recommended a curing time of five days. However, I did come across one recipe by the BBC good food that cured the egg yolks for just eight hours.
For this recipe I cured my egg yolks for four days. Next time I do this recipe I’ll try for three days and see if the outcome is the same. Sometimes you just want a recipe to be a bit quicker!
Drying time
The most important thing I came across when reading the comments of other people’s recipes was getting the temperature correct for the oven.
60°C is 140°F . If you get your Fahrenheit mixed with Celsius then you’re going to end up with very overcooked non-cured eggs. 😂 140°C is the temperature you would typically bake cookies such as ANZAC biscuits.
Storage and uses
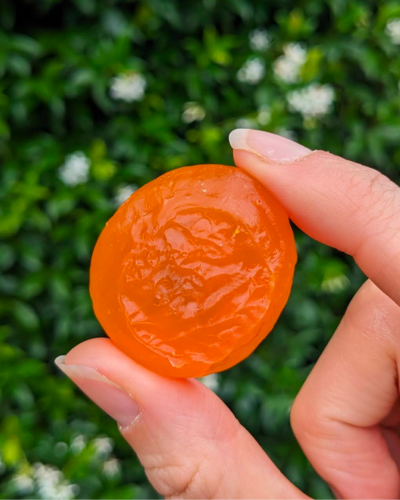
Salt cured egg yolks will last two to three months in an airtight container in the fridge.
They are typically used as a garnish to dishes, giving a salty umami boost. Salted yolks have been described as a dairy-free alternative to parmesan, so that’s a good place to start when thinking of uses. The yolks are firm enough that they can be grated with a microplane.
If you don’t have a microplane, use a regular one or cut thin slices and sprinkle it over pasta, soups and salads.
Love this post? Pin it!

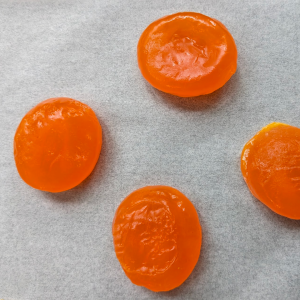
Salt cured egg yolks
Equipment
- 1 container
- 1 drying rack and tray
Ingredients
- 4 egg yolks
- 250 g salt see notes
Instructions
- Pour 2/3 of the salt into your container. Make four wells to place the yolks using a teaspoon.250 g salt
- Gently place each yolk in its own well.4 egg yolks
- Cover the yolks with the remaining salt. Place the container in the fridge and leave for four days.
- Set your oven to its lowest setting, for example 60C.
- One at a time gently remove each egg from the salt and rinse off any excess salt under running water.
- Place the yolks on a piece of paper towel and pat to dry.
- Oil your drying rack and place each yolk on the rack. If a rack isn't available, lay a piece of baking paper on a tray.
- Place the yolks in the oven at 60C for 2.5 hours. If you aren't using a rack, turn the yolks over half way to allow even drying.
- After 2.5 hours allow the yolks to cool fully before storing in an airtight container in the fridge. The eggs will last for two months.