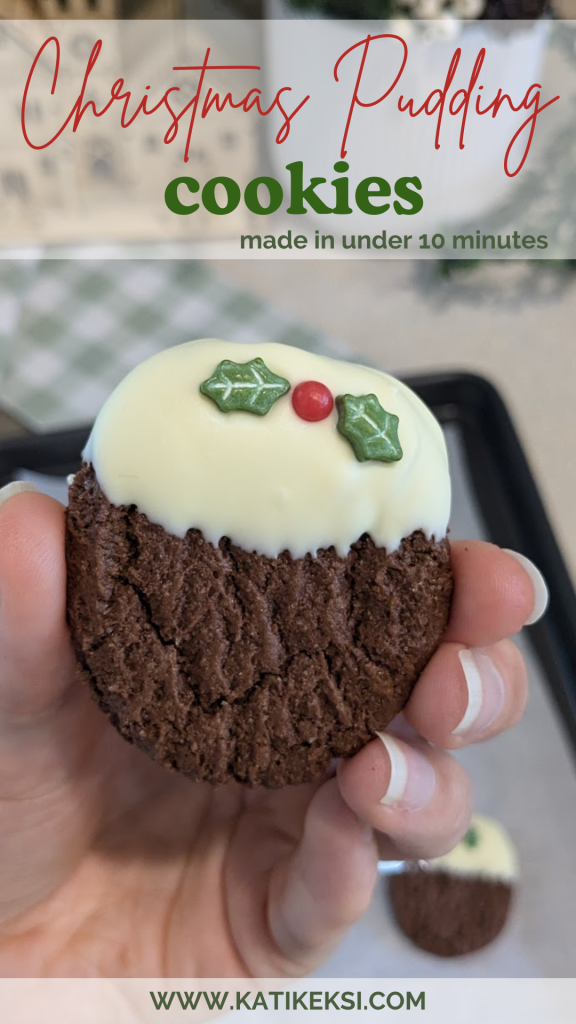
Christmas pudding cookies
Posted: December 3, 2024 Updated: March 31, 2025
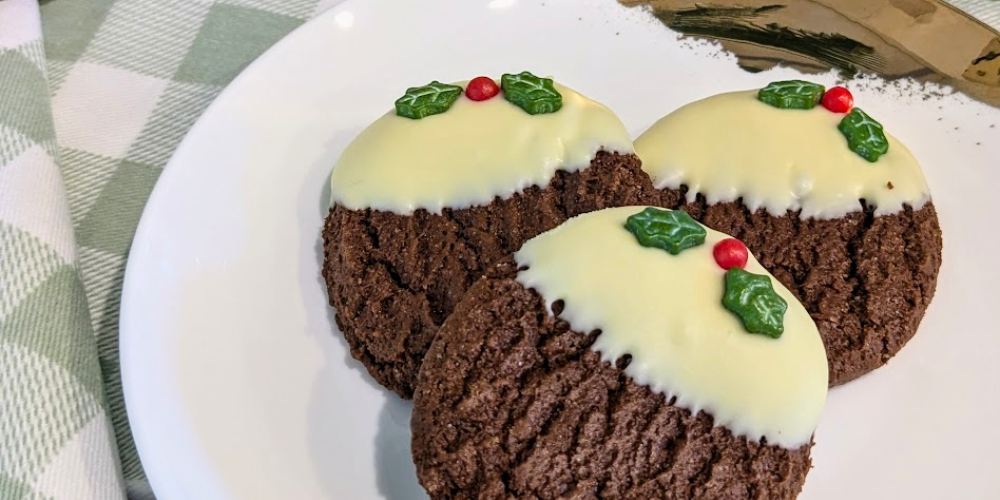
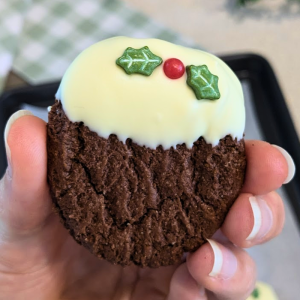
Christmas pudding cookies let you put together a cute plate of sweet snacks with just ten minutes work. These look great with minimal effort and can easily be adapted to any dietary need such as gluten free, dairy free or egg free.
Each year as Christmas rolls around I see so many desserts and sweet snacks being made. Loads of reels, plenty of pictures and an abundance of Pinterest pins.
I often save a few, assuring myself that I’ll have time this year. I rarely do.
This year I set myself an easier goal of just doing really quick options, basically hacks. I’m going for things that have easy ingredients I might already have in the pantry. And better yet, ones I can use for multiple recipes.
Related content
- Gluten free Christmas foods, including puddings, panettone and shortbread.
- Gluten free Christmas chocolates and treats.
Gifting ideas and uses
Since posting these on my Facebook page, Kati Keksi – your gluten free guide, I’ve had lots of people say how they’ll be sharing them. Here’s a few.
- Bring a plate for family BBQ
- End of year teacher gifts
- Christmas activity with their children / grandchildren
- Taking to play group
- Church Christmas party
- Taking to the office for festive fun
Ingredients for Christmas pudding cookies
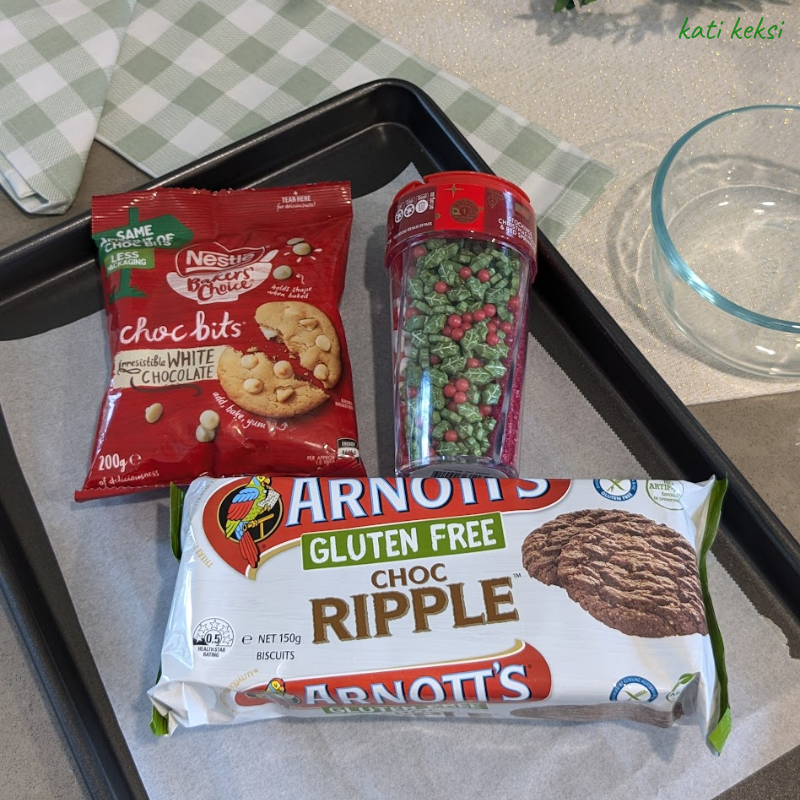
If you can find the right sprinkles all you’ll need to buy are three things. Chocolate cookies, white chocolate to melt, and the sprinkles.
Since I’m in Australia and I’m gluten free, I’m using Arnott’s chocolate ripple biscuits. They are rich with cocoa and work well against the sweet creaminess of the white chocolate.
The white chocolate I’ve bought is by Nestlé. Coles brand white chocolate is also gluten free, no may contains for wheat.
The sprinkles were probably the hardest to find. They are made by Dollar Sweets but sold under licence to other companies. The packet I have with red dots and green leaves was purchased from Coles.
There’s also a larger sprinkles box you can buy from Big W which has more options. I also love that they call it a tackle box 😅. I feel like 300g of sprinkles is the antithesis of a day of fishing.
Equipment for making Christmas pudding cookies
There’s really not much you’ll need as all you need to do is dip your cookies into the melted chocolate.
I used a microwave safe glass bowl (Pyrex) to melt my white chocolate in the microwave. Alternatively if you’d prefer you can use the double boiler method, gently melting your chocolate chips over boiling water.
I think a small bowl is best so you can dunk your cookie to the preferred depth in one move.
After each cookie is dipped you’ll want to lie it on a piece of baking / parchment paper on a tray. This is so you can place the tray in the fridge to assist the chocolate setting.
Make sure your tray is going to fit in the fridge before you start!
Storing your cookies
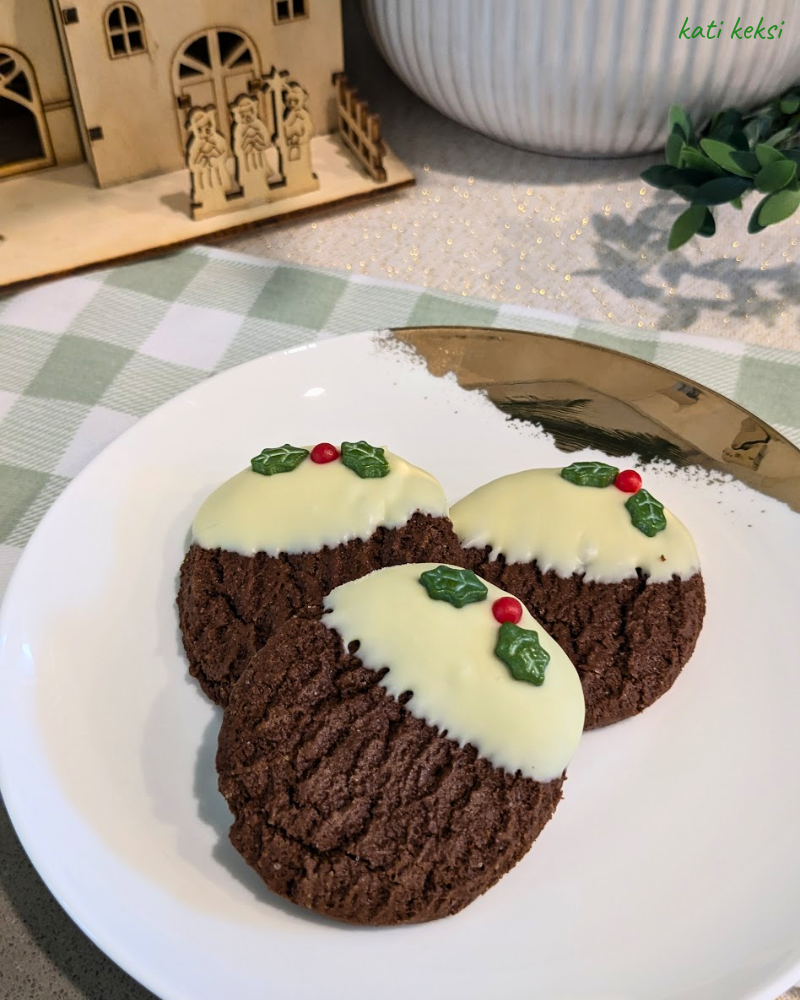
This is definitely one you can bake in advance. The weather will determine where you keep these Christmas pudding cookies. It was a very hot day when I made them so they were kept in the fridge until they were eaten.
At a cooler temperature these would be fine in a sealed container on your kitchen bench.
They should be fine to eat for several days. Depending on the sprinkles you use some colour may leech into the white chocolate. But provided the chocolate stays solid this shouldn’t occur.

Thanks for reading my post!
Want me to keep making recipes like this? Consider Buying Me a Coffee.
No money, no worries! Sharing is caring. Share this recipe with your friends, family or colleagues. It’s a massive help.
Christmas Pudding Cookies
Equipment
- 1 small heatproof bowl
- 1 tray
- Baking paper
Ingredients
- 1 packet chocolate biscuits
- 50 g white chocolate melts
- sprinkles
Instructions
- Using a heatproof bowl microwave your white chocolate. Heat in bursts, stirring in between to reach a runny consistency without burning. 15 – 20 seconds at a time, depending on your microwave.
- Using a spatula or spoon scrape the melted chocolate to one side of the bowl. This will assist with easy dipping.
- Taking one cookie at a time press the top of the cooking into the chocolate, covering half of the cookie. Slowly lift it out and allow any excess to fall back in. Repeat for all cookies.
- Carefully place decorations on top of the melted chocolate. If it is too fiddly use a pair of clean tweezers to place each peice.
- Allow chocolate to set. Alternatively store in the fridge to speed up the process.
Want to save this post? Pin it!
